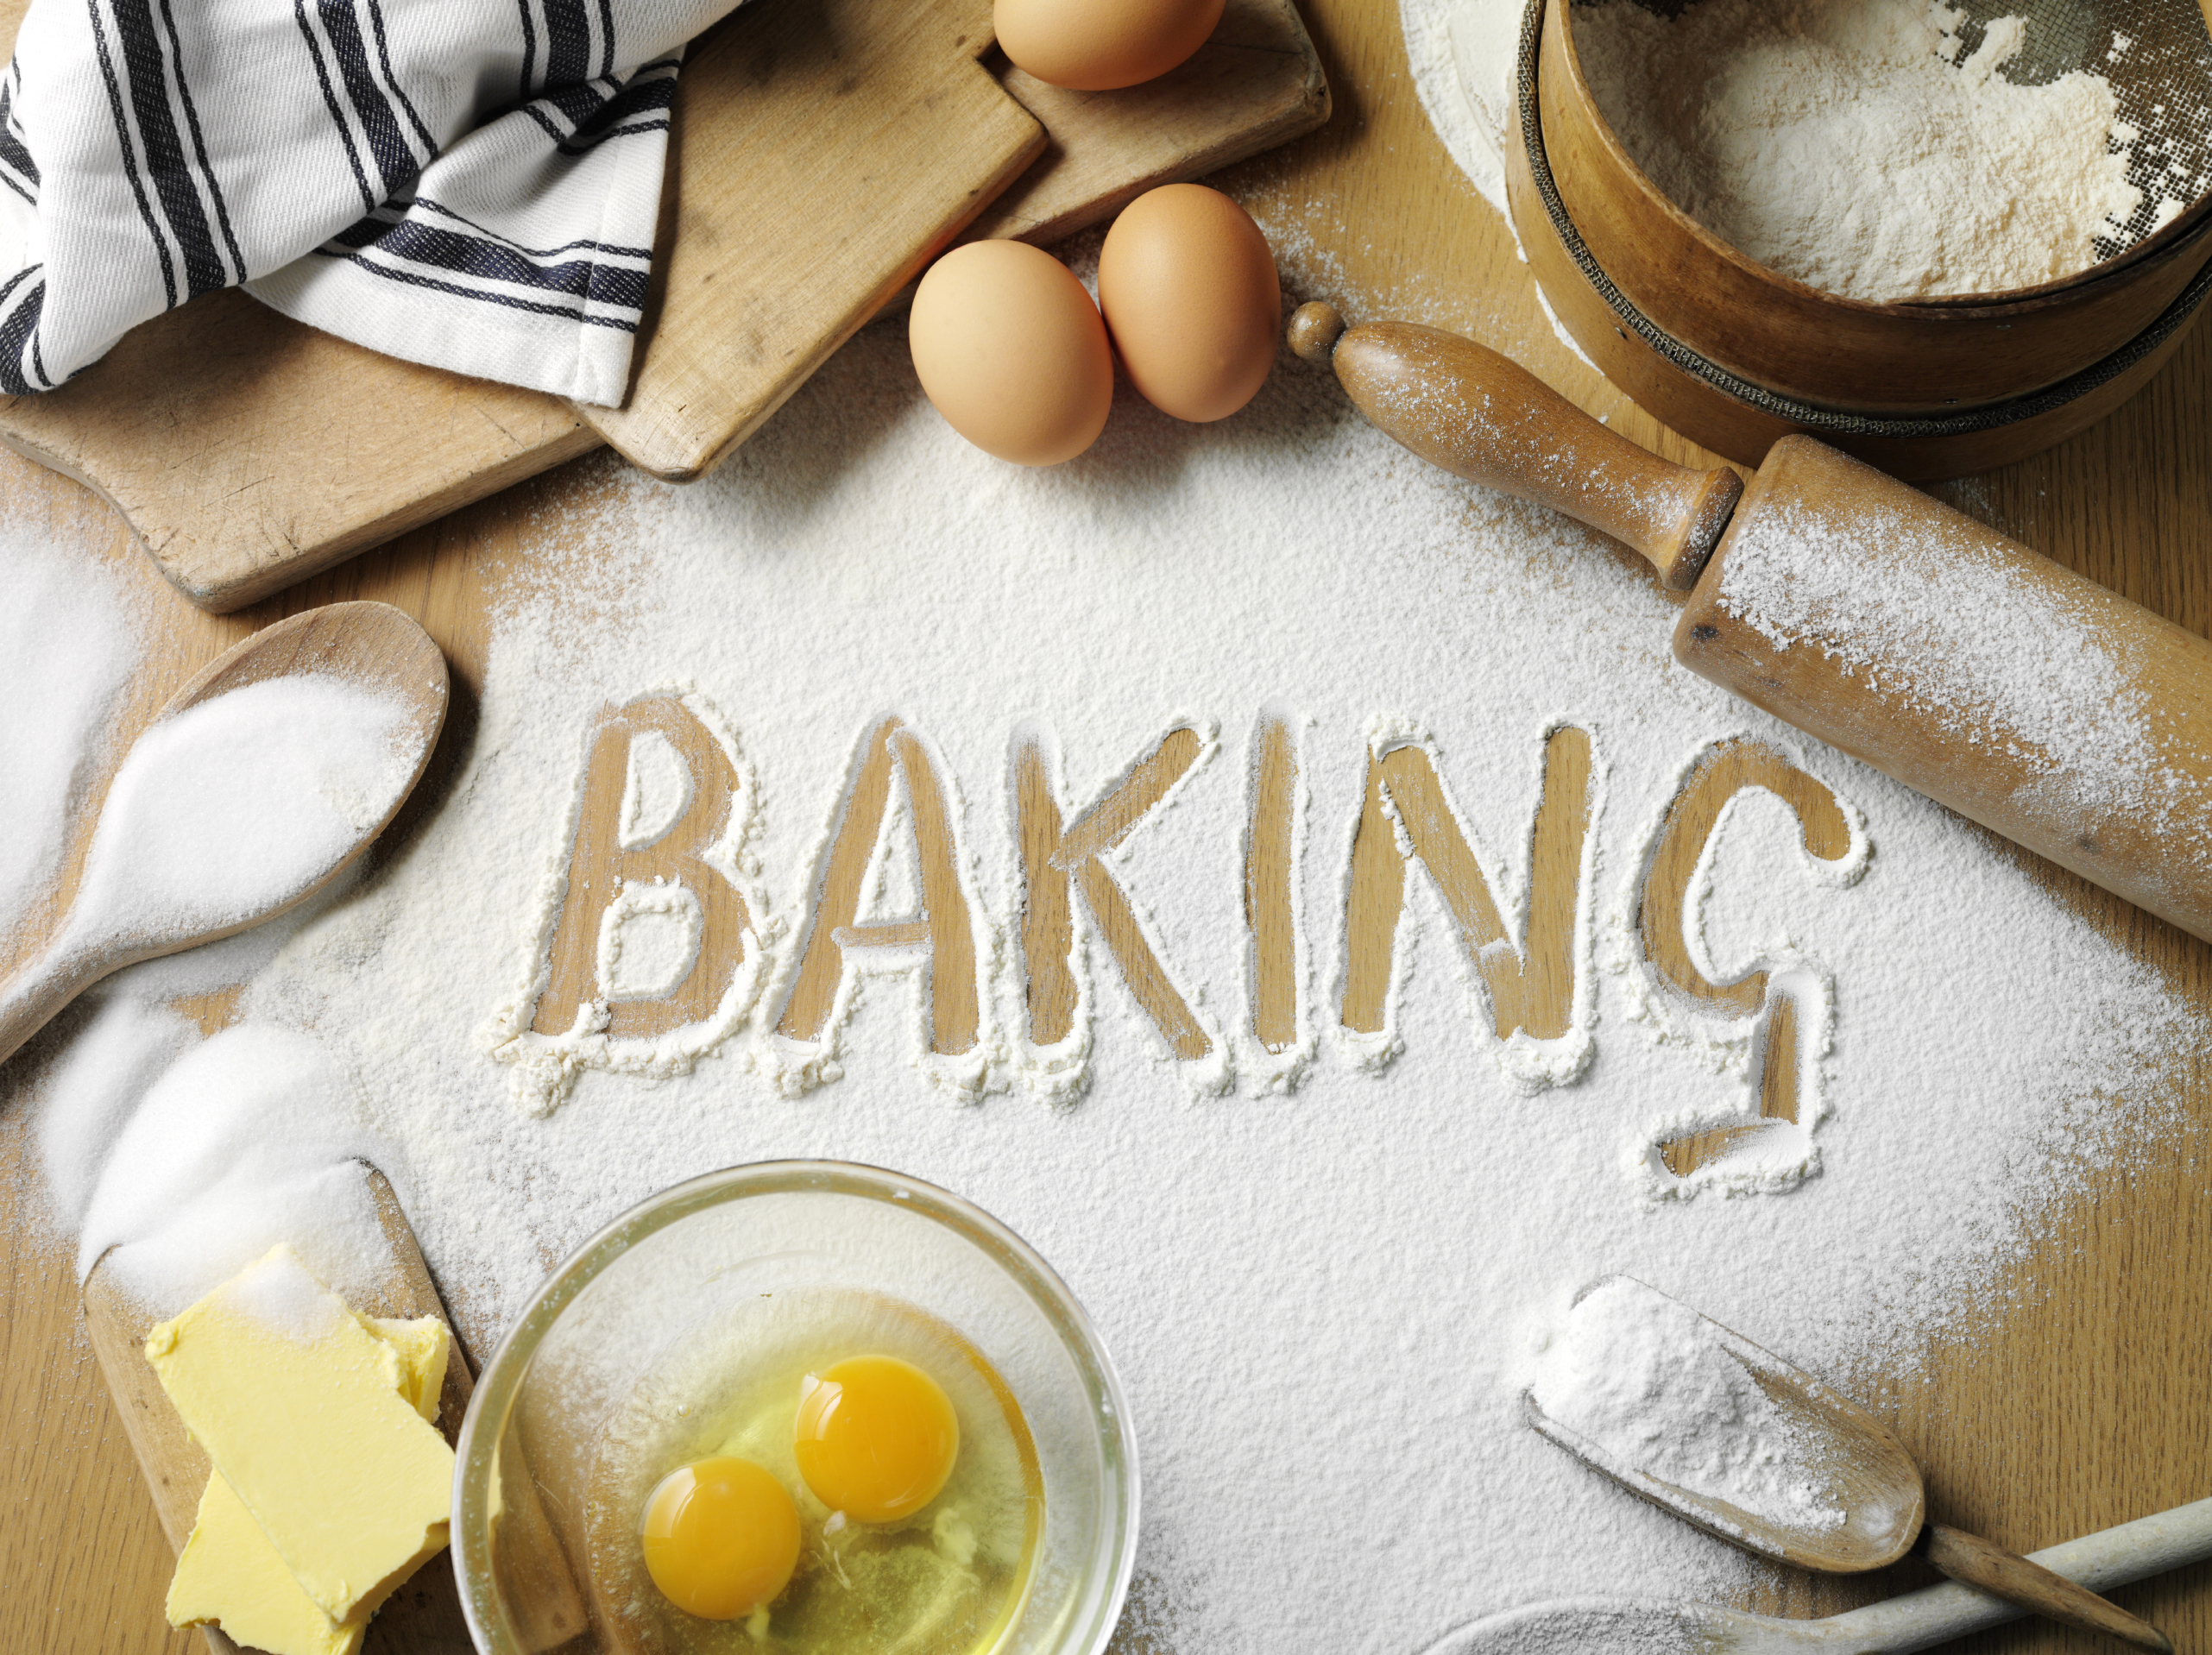
I’ve been seeing the comments from you novice bakers who have seen baking shows, baking gifs, videos of intricate cakes being made, etc and wonder where to even begin. Well, I’ve pointed out that baking takes many years to perfect but there are ways to start, and from there determine how far you want to get into this!
Skip the box cake mixes though. There’s no beauty in it.
Let’s start with a simple white cake. The first step in baking is always to pre-heat the oven, turn it up to 350 degrees and gather your ingredients. For this recipe we’ll have 2 eggs, 2 teaspoons of vanilla, a cup of sugar, half a cup of butter, a cup and a half of all-purpose flour, 1.75 teaspoons of baking powder and half a cup of milk. Most of these things are already in your cupboards!
Grease a 9×9 inch pan with butter.
Mix together the sugar and butter, beat in the eggs one by one, and stir in the vanilla. Once you have a nice consistency with no lumps, pour in the combined flour and baking powder slowly until the batter is smooth. Pour this into the pan.
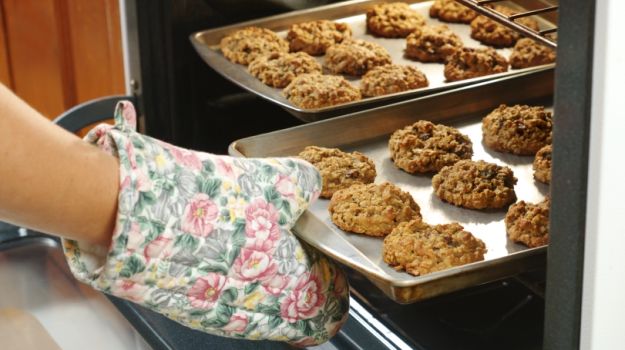
Once your oven has reached 350 degrees, put in your pan and wait 30 minutes. Cake is done when it bounces back from a gentle poke, give it ten more minutes if it’s not quite ready yet.
Cut up. Serve with any toppings you can find: fruit, fudge, jam, etc.
If you enjoyed that process, you can only get better and better and more and more creative when it comes to baking. Those videos you’ve seen of wedding cakes made to resemble geodes or marble are possible, but it all starts with perfecting a simple white cake!
And for what it’s worth, these cakes are universally liked, simplicity is a refined taste! My husband and all of his legal partners ask me to bring one of these to literally every event they host. I just keep baking the exact same cake but using different toppings and they act exactly how I would act if someone brought me one of those beautiful geode cakes!
This recipe, by the way, also works great as cupcakes. Follow the exact same recipe except put paper cups into a muffin tin, pour batter to fill each 2/3, and bake for 20-25 minutes. This is a great option for kids’ birthday parties, sending to school, etc.
 There are many things you can do to help your baking be its best. Below, I have some tips to help you get consistent results with anything that you bake. Take notes, now, because you will want to follow each of them.
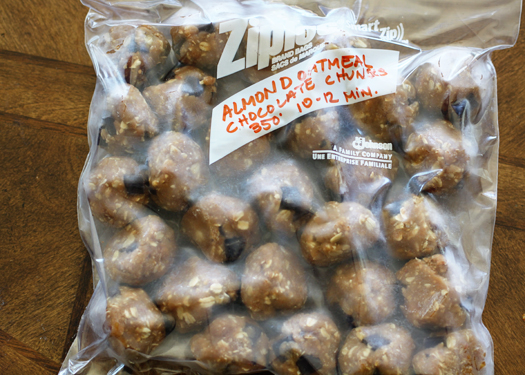
 Everyone has their own way to freeze cookie dough, but I have chosen the way that is easy and convenient for me. I make the homemade dough per the recipe then chill it in the refrigerator, usually overnight. After that, I roll the dough into balls and chill the cookie dough balls for about an hour. I then place the cold, solid dough balls into a freezer bag and label it with the date and the temperature they should be baked at. Then the bag goes right into the freezer. I only keep them in the freezer for up to three months, so the date on the bag helps me to determine which batches will still be fresh and give me fresh tasting cookies. Of course, the temperature on the bag is written on for reasons that are obvious. You can label the bag with any information that you may find helpful.
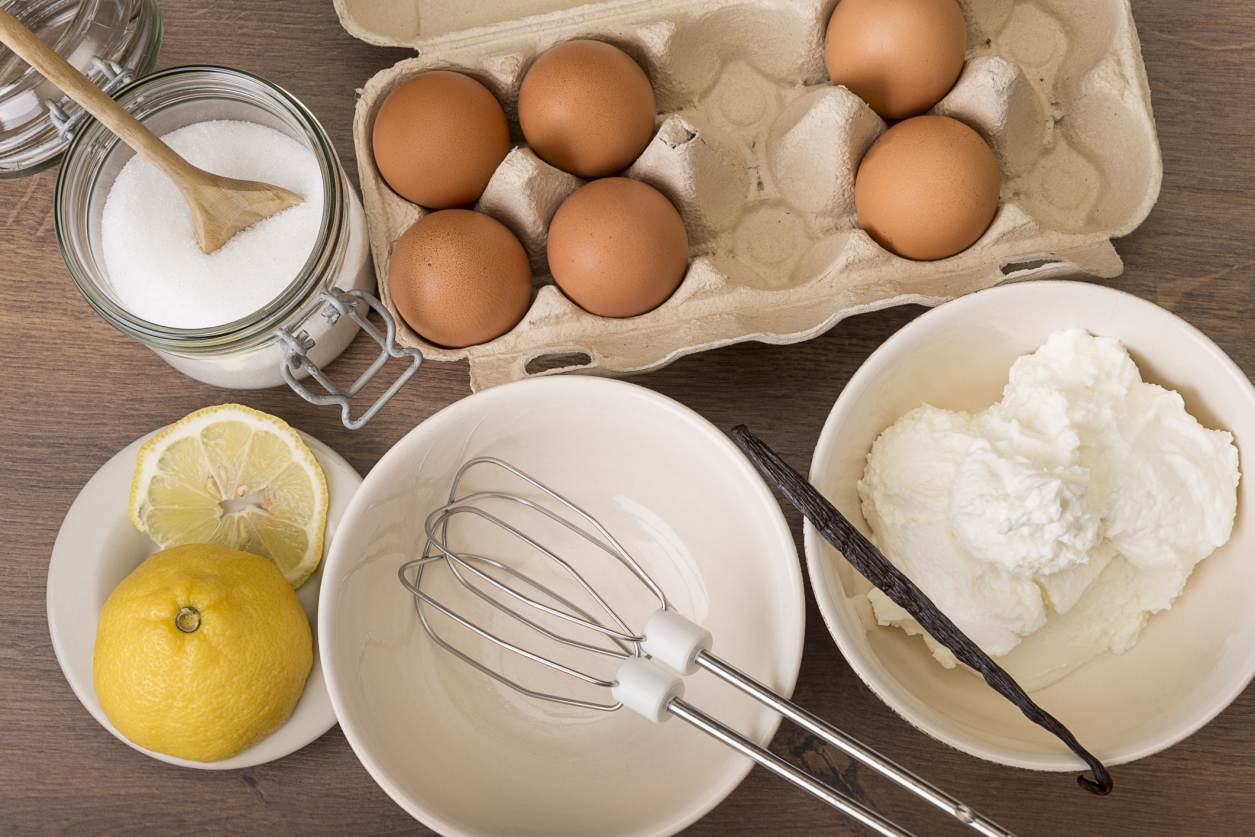

 Chill the Cookie Dough: most cookie dough should be chilled before you cook it. Feel it and look it over to determine whether you should chill it or not. If the dough is wet feeling or greasy, you should chill it. This makes it less likely to become a greasy puddle when you cook it. After the chilling process, let the cook dough sit for about ten minutes at room temperature before you roll it into balls and bake.
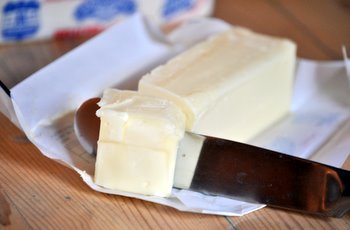
 Have you ever gone to make a recipe and realize that it calls for soft butter? All the butter you have is in the refrigerator! What will you do?